Welcome to Rainier!
Climbers know that efficiency is key to enjoying adventures in the mountains. This is true both for movement and for equipment. In addition to all of the training you are doing, part of the preparation for your climb is making sure that you have the proper gear. The right equipment choices provide an added degree of comfort and safety, allowing you to focus on the climb and enjoy the experience.
We know you have many choices when it comes to outdoor products. And because we also know that navigating all the options can be overwhelming, we created this Gear Guide to help simplify the outfitting process. In this post we share our philosophy, tips and advice, and specific functions and features of each equipment item listed for a summit attempt on Rainier. We also identify the products that we believe are the “best in class” and ideal for climbing Rainier.
Our guide was written with input from the RMI guide team, who have been guiding climbers on Mt. Rainier since 1969. As outfitters of RMI for the last few decades, we have a pretty good idea about what works and what doesn’t up on the mountain. All of our gear suggestions can be bought or rented from our store, in person or online.
How This Works:
We've divided our guide into two pages; Gear and Apparel. This is the Gear page.
If you're looking for Apparel please click here.
If you're looking for Guide Pick please click here.
Otherwise, feel free to click on the section you're interested in below, or just start scrolling!
Backpacks and Bags
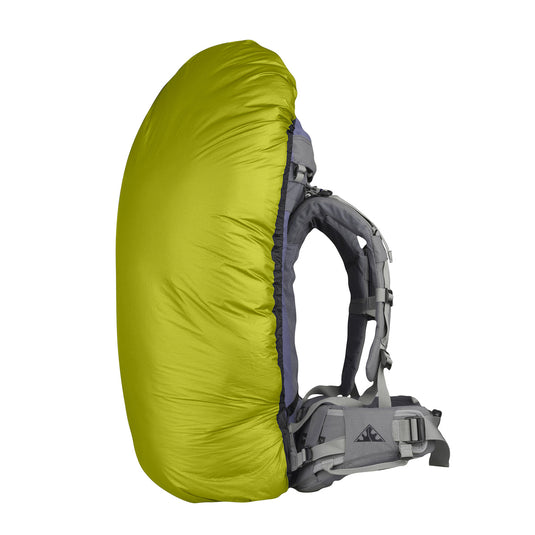
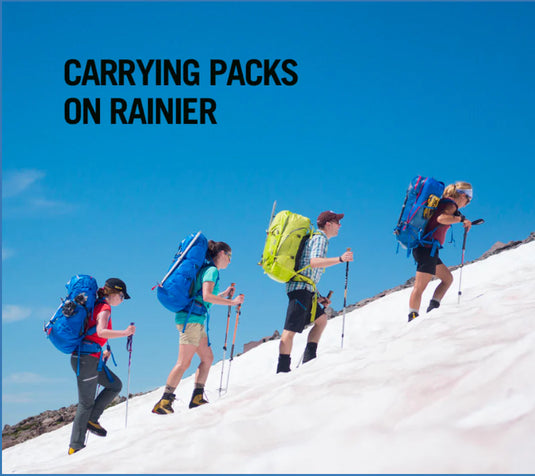
A 65-70+ liter pack large enough to carry all of your personal gear, food and water is the recommended size for this climb. With everything packed, your pack will weigh approximately 40 lbs. A separate summit pack is not needed. Want to learn more about climbing packs? Check out our blog post!
GUIDE TIP
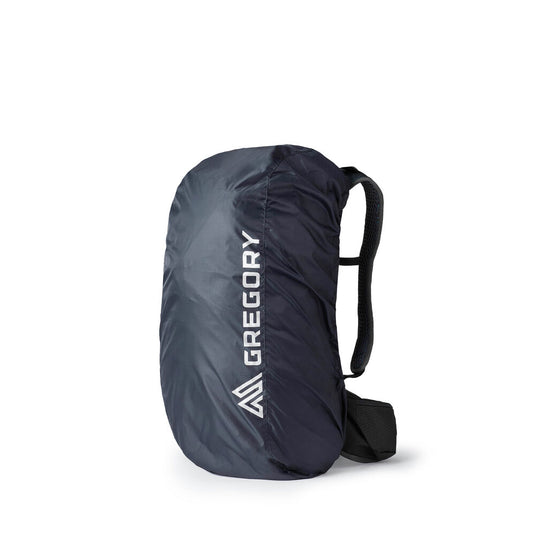
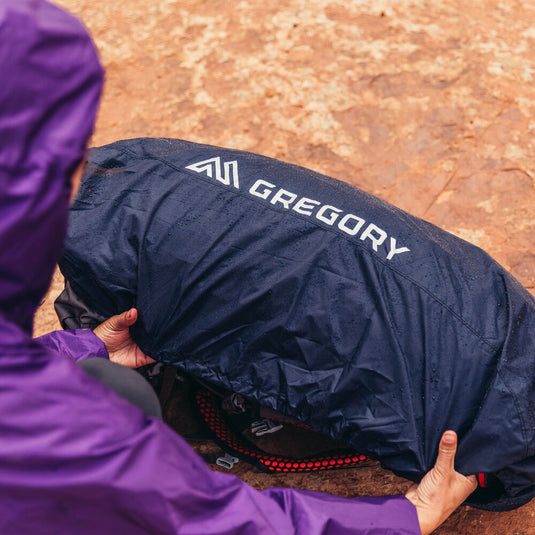
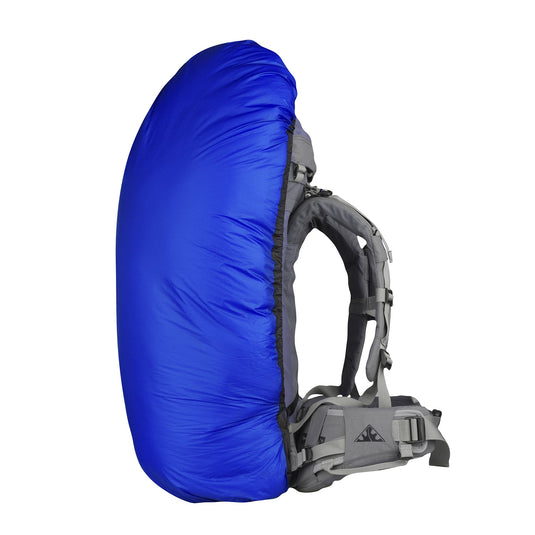
A slightly larger capacity pack is convenient for use on the mountain. More room inside allows you to dig around in the pack without needing to pull items out and set them on the slope to find what you are looking for. Attachment loops for securing an ice axe are key for the Rainier climb. Many packs come with a removable flap that separates the sleeping bag compartment from the main body of the pack (extra weight and not needed). Most guides remove this flap as the pack carries and packs better when it is a single compartment. We have found that a cheap and effective way to waterproof your pack is to simply line it it with a garbage bag and then packing everything inside to keep all the contents dry.
Sleeping System
Your sleep system is dependent on where you plan to sleep. If you are in a hut you will not need a sleeping pad, sleeping in a tent you will. If you're climbing Rainier and staying in a hut, you'll be fine with a closed-cell foam pad, which are provided by RMI Expeditions.
For bags, we recommend a bag rated between 0° to 20° F. Both down and synthetic work well. Use the 0° bag in May, June and September when it colder, and the 20° bag in July and August when it is warmer.
Sleeping Pads provide cushioning and insulation between your body and the ground. When choosing a pad, consider the terrain and temperatures. The harder or colder the ground, the more cushion and insulation required. If you're climbing Rainier with a guide service and staying at Camp Muir, you'll be fine with a closed-cell foam pad. But if you're planning on staying in a tent, we recommend a combination of an inflatable and a closed cell pad.
Backpacks & Sleep Systems
Ice Axes
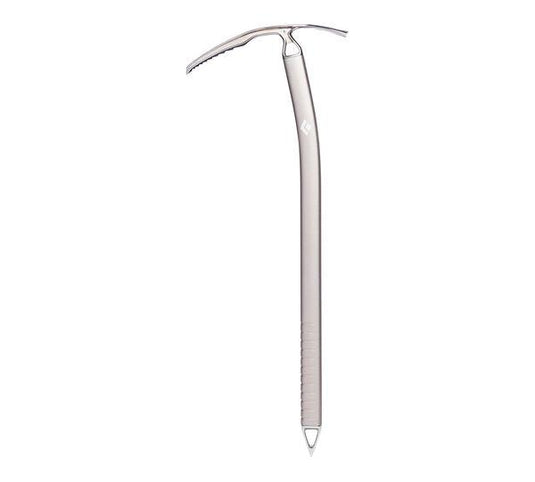
The standard route on Mt. Rainier is mostly non-technical with little, if any, overhead use of the ice axe. A standard mountaineering ice axe will work best. The axe is a great third point of balance on steeper slopes as well as a tool for self arrest if a fall occurs. We discourage ice axe leashes that attach to the wrist as these mostly get in the way on the multiple switchbacks on the route.
The length of your axe depends on your height. Use the following general mountaineering formula: up to 5'8", use a 65 cm. axe; 5'8" to 6'2", use a 70 cm. axe; and taller, use a 75 cm. axe. If you hold the axe so that it hangs comfortably at your side, the spike of the axe should still be a few inches above the ground. Keep in mind that on the lower mountain, you'll be using trekking poles instead of an axe.
If you want to learn more about how to pick the right ice axe, check out our guide here.
Crampons
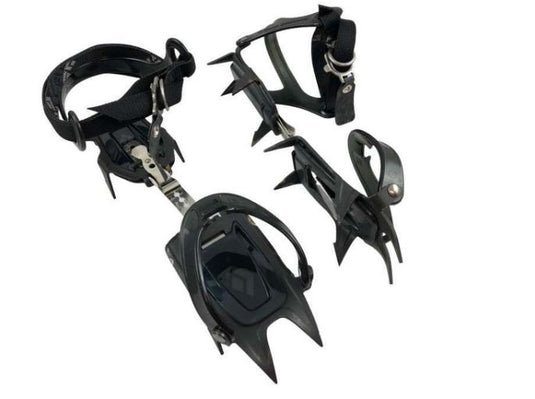
10 or 12 point steel adjustable crampons are ideal for climbing on Rainier. Avoid aluminum crampons as they are easily damaged on rock. Your crampons should be adjusted so that the sole of the boot sits snugly on the crampon frame, and the toe and heel bails snug securely around the boot, minimizing any movement.
Crampons are right and left foot specific, with the buckles designed to sit to the outside of the ankle, and the adjustment bar bent to mirror the shape of the foot. Typically, straps run from the ankle, through the toe bail, and to the buckles on the outside of the ankle. Excess strap length can be trimmed or tucked inside the velcro on the front of the gaiters.
To learn more, check out our guide to Crampons.
Harness
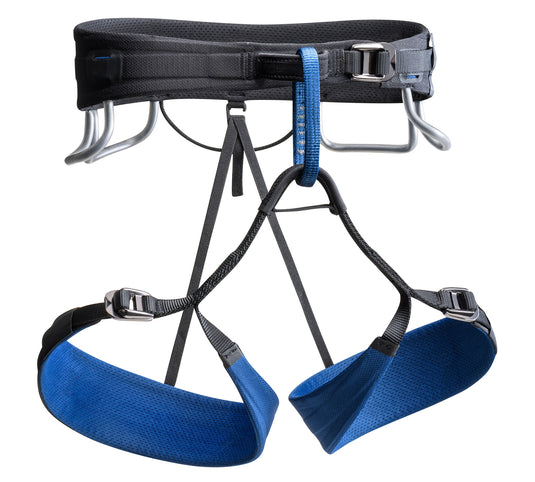
We suggest an alpine climbing harness vs. a rock climbing harness. Rainier is primarily a glacier climb, which means you spend a lot of time walking in the harness and not hanging in it. Alpine harnesses are generally simple designs with less padding on the hip and waist belts. They are lighter and allow a greater range of motion. This makes them easier to wear with a pack when climbing for long periods. Removable, drop seat or adjustable leg loops are more convenient for managing your clothing layers over the course of the day and facilitate going to the bathroom.
Want to learn more about how to choose a mountaineering harness? Check out our blog post here.
Locking Carabiners
You'll also need a Triple-Action locking carabiner to go along with your harness.
A triple action carabiner is a locking carabiner that requires three steps to open: 1) lifting the lock, 2) twisting the lock, and 3) pushing the gate open. It then "auto-locks" when the gate is released. The three-step to open and auto-locking to close actions make them safer than standard screw-gate locking carabiners as they are unlikely to inadvertently move to the open position during the climb. For this reason, we require that all climbers use a triple action locking carabiner to tie into the rope on our climbs.
We recommend the William Tri-act Locking Carabiner as our go-to.
Helmets
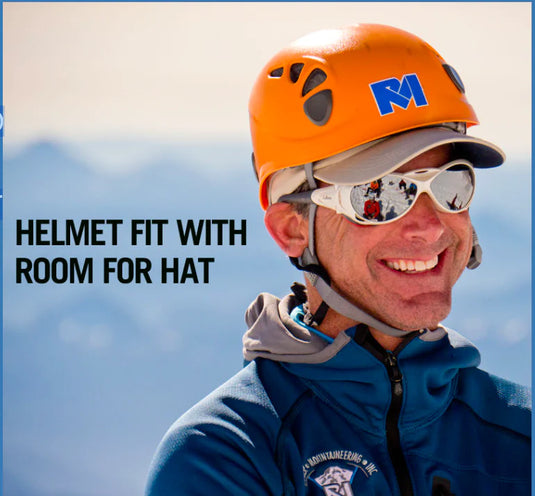
A UIAA (Union Internationale des Associations d’Alpinisme) or CE (European Committee for Standardization) certified climbing helmet should be used on Rainier. Bicycle or ski helmets are designed for a different type of impact and will not substitute as a climbing helmet.
GUIDE TIP
Your helmet should fit comfortably with and without a hat. It should be tight enough that it won't slide around when you move your head, but not so tight that it creates uncomfortable pressure. The helmet should sit much like a regular hat: directly on top of your head with the front just above your brow. A good fit will not allow the helmet to slide back on your head and leave your forehead exposed.
Glacier Glasses
Heading
A pair of dark-lensed sunglasses with side shields or full wrap- type sunglasses. Almost all sunglasses block UV-A, UV-B and infrared rays adequately. Pay attention to the visible light transmission. The darkest lenses (glacier glasses) only allow approx. 6% visible light to get through, while lighter lenses (driving glasses) let in as much a 20+%. A good rule of thumb is that if you can see the wearer’s pupils through the lenses, they are too light for sun protection at altitude.
Glacier glasses remove 100% of UV light, and the lenses let a small fraction of visible light through so that the wearer does not have to squint on bright days. They have a large, wrap- around frames for increased coverage, and a closer fit so that reflected light does not leak in from the sides of the frame.

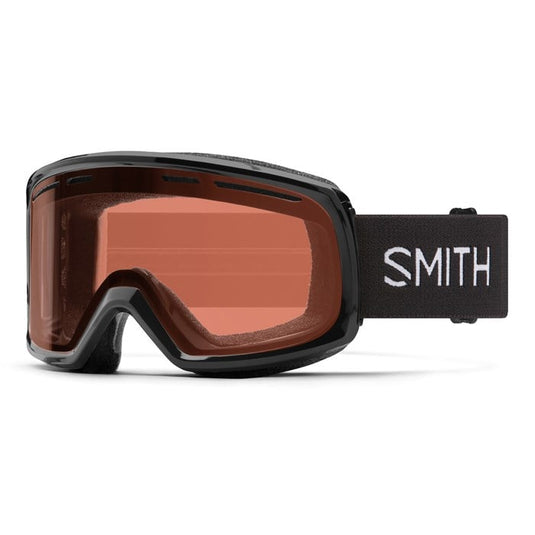
Goggles (typical ski goggles) are worn in bad weather and high winds. They don't need to be dark as they are often worn at night or in low light conditions. In fact, we recommend goggles with clear lenses, as they can be useful for contact lens wearers to protect against blowing volcanic dust on breezy climbs.
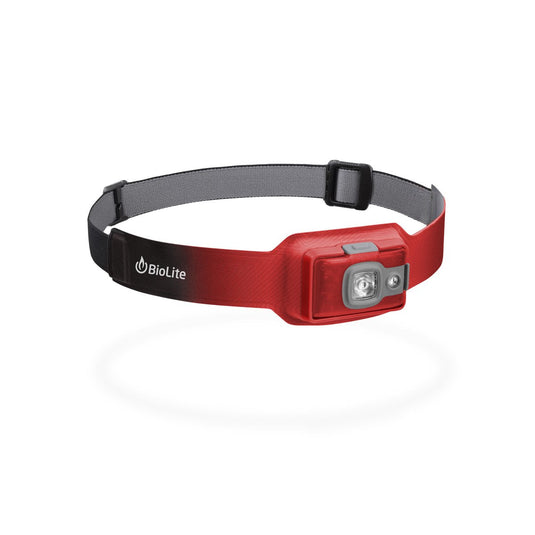
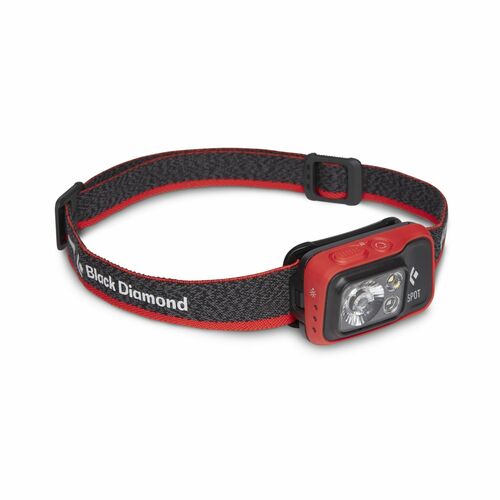
A headlamp with a bright beam is attached to the climbing helmet for climbing at night. Most headlamps use LED bulbs and are very efficient with batteries, but carrying a spare set of batteries is a good idea. The headlamp can be worn on your head around camp and later attached to the climbing helmet using the small plastic tabs positioned along the helmet's edge.
Head Gear
Gloves & Mittens
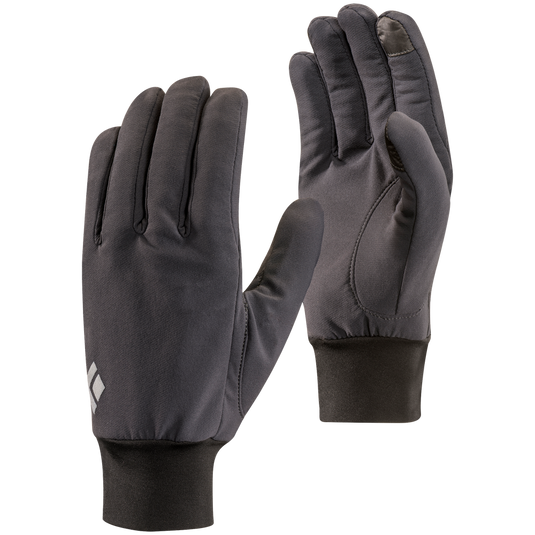
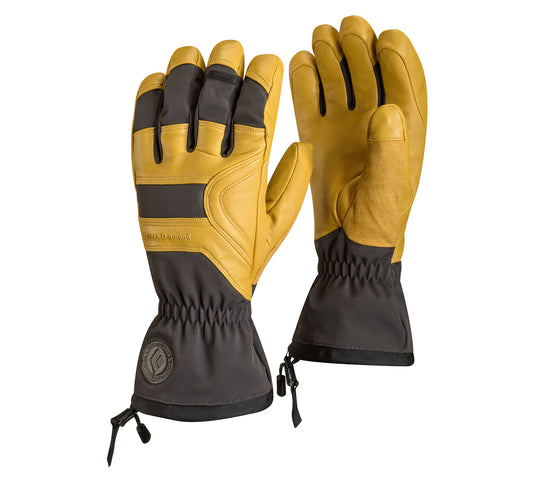
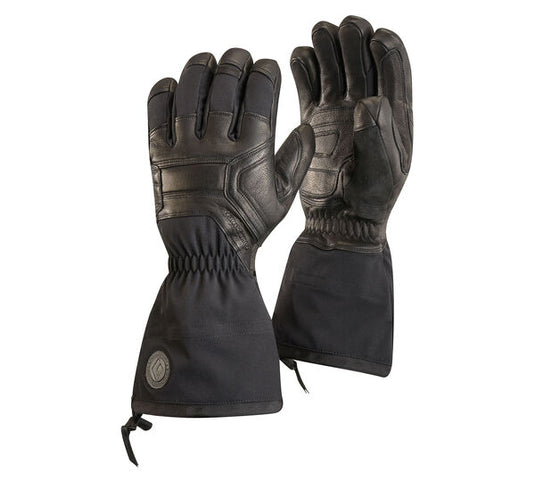
A light pair of gloves are worn for much of the climb. They can be fleece, soft- shell, or a wind block/wind-stopper type material. Most of these will have a leather or synthetic palm for better gripping. Light gloves provide a bit of insulation and protection when holding the ice axe.
Mountaineering Footwear
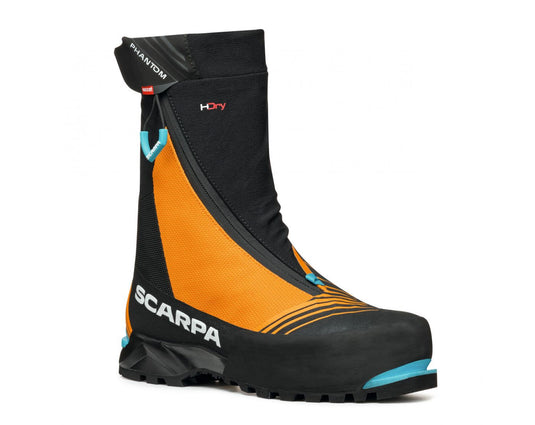
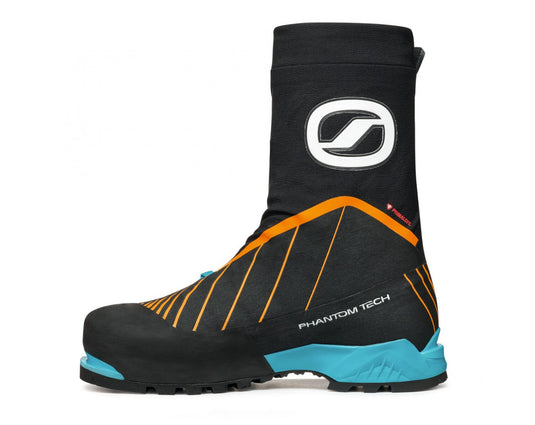
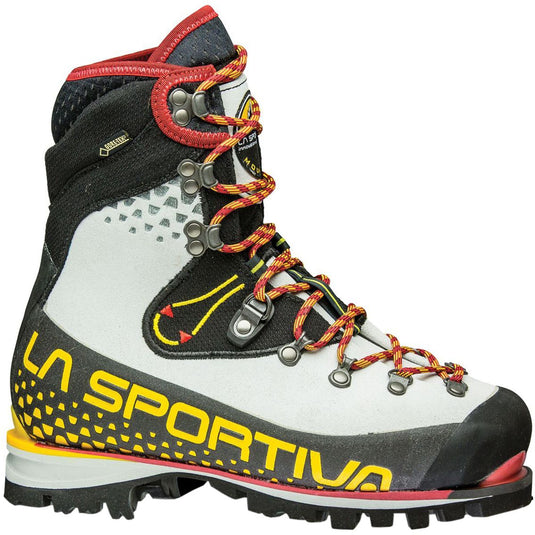
Footwear is one of the most important parts of your mountaineering gear. The right boot, sock, and gaiter combination can make or break a summit attempt. For our full guide to Mountain Footwear, click here!
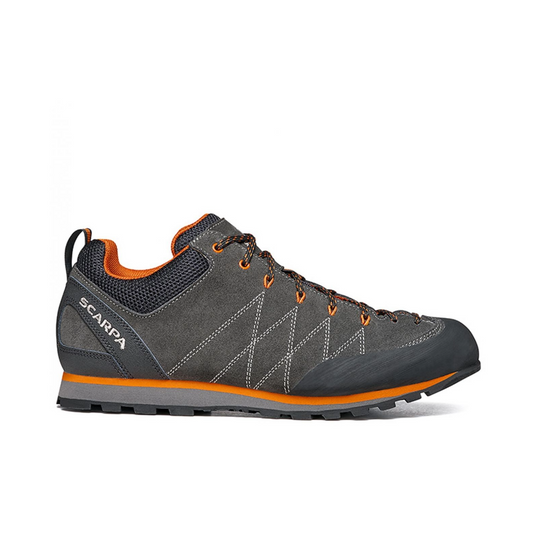
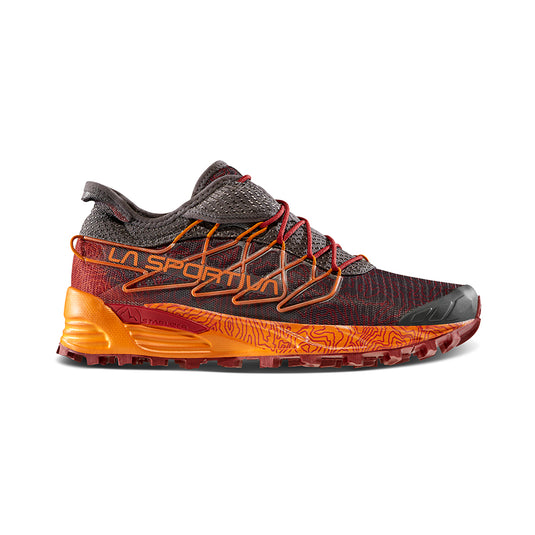
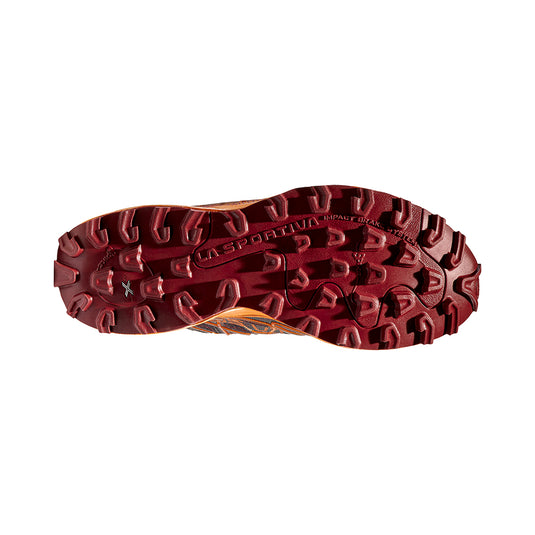
Approach shoes are used, you guessed it, on the approach to the actual climb. On Rainier, much of the climb to Camp Muir is snow-free in the summer months, and a lightweight pair of approach shoes feels a lot better on rock and pavement than heavy mountaineering boots. These should be light, breathable, have a good traction sole, and be comfortable for all day use. They will serve as both a travel shoe and a trail shoe for acclimatization day hikes.
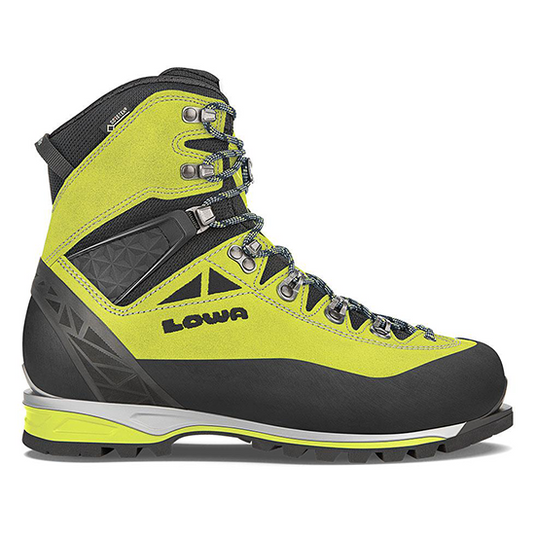
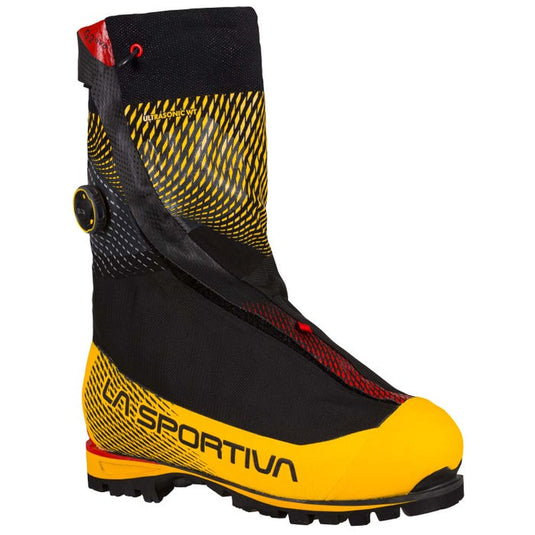
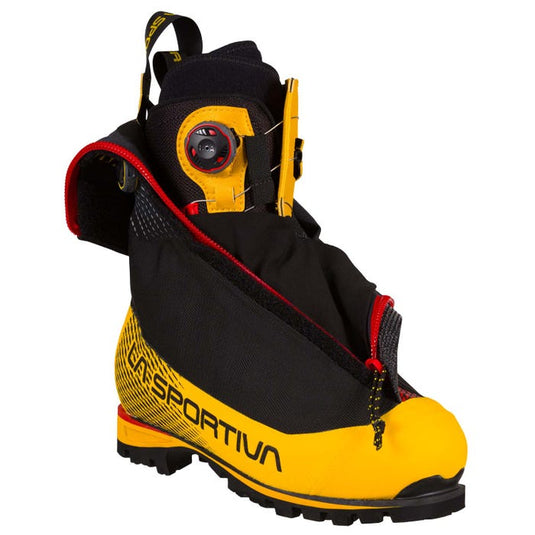
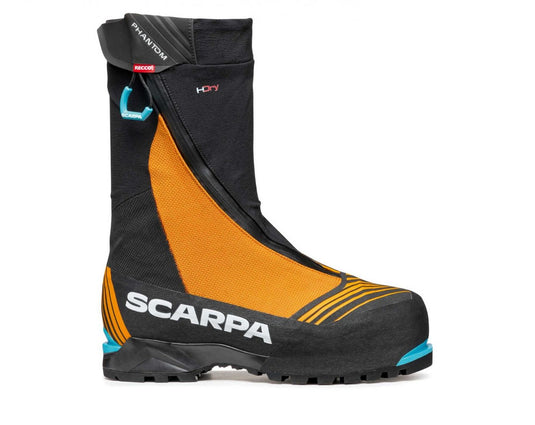
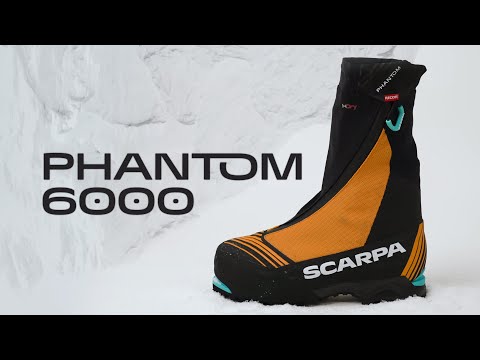
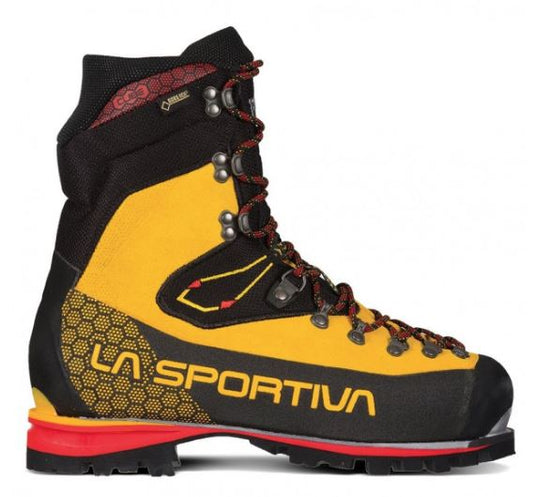
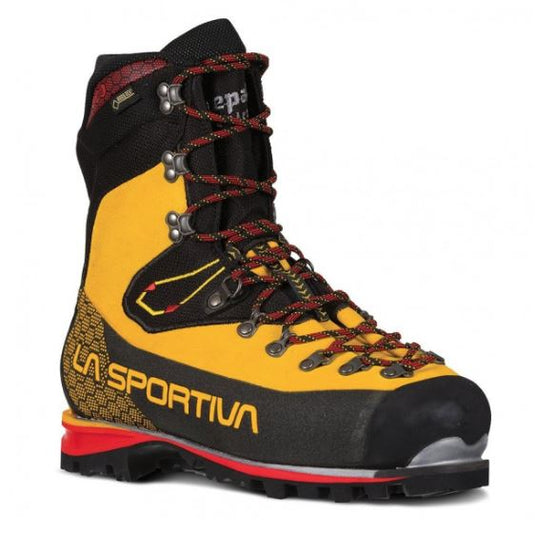
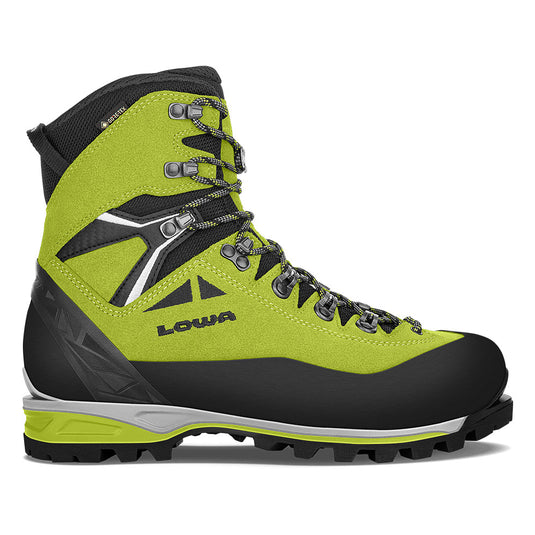
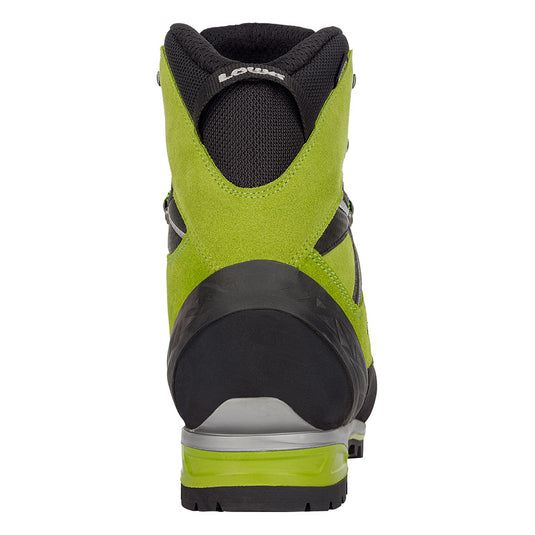
Insulated mountaineering boots with completely rigid soles are needed to climb Mt. Rainier. While both leather single and double boots will work well, each has strengths and weaknesses. Double boots are highly recommended for early/late season climbs (April - June and September) and also when freezing levels are below 10,000.’ Appropriate leather boots (stiff-soled, insulated and designed to hold a crampon) are appropriate for mid season (July/August) and warmer weather climbs. Mountaineering boots are designed to remain stiff for kicking steps and working with crampons. To ensure that your feet do well, mountaineering boots must be comfortable right from the start. If renting boots, consider bringing personal orthotics or footbeds.
Mountaineering Footwear
All The Rest
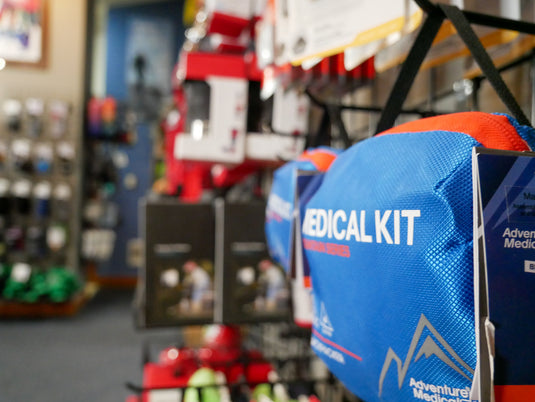
There are several other things recommended for a Rainier climb, such as:
- Sunscreen We recommend small tubes of SPF 15 or higher, which can be carried in pockets for easy access and to prevent freezing.
- Lip Balm SPF 15 or higher
- Eating Utensils A bowl, spork or fork, and mug for food and hot drinks.
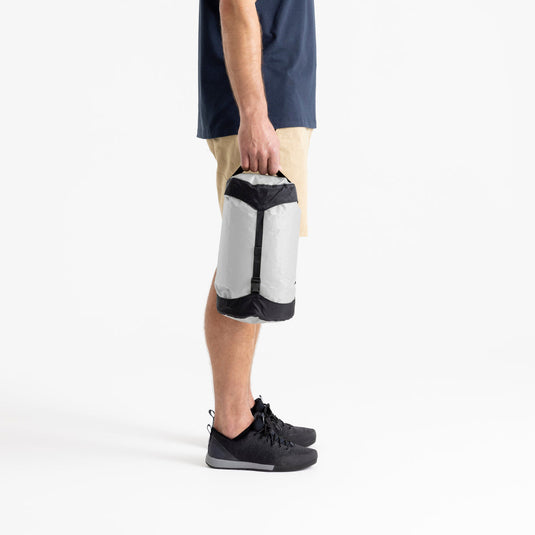
- Garbage Bags These can be used for lining your backpack or sleeping bag stuff sack.
- Ziploc Bags To collect your personal trash from lunches and snacks.
- Ear Plugs These are nice to have while in the climbers hut to block out some of the noise of others getting up to use the rest rooms.
- Toothpaste and Toothbrush A travel size tube such as Crest Travel Size
- Baby Wipes A travel pack size
- Hand Sanitizer A personal size of Purell Hand Sanitzer.
- Toilet Paper For those high-altitude breaks
- Wide Mouth Water Bottle We recommend 2-3 Wide Mouth Nalgene Bottles.
- Mask In order to comply with Covid-19 Policies.
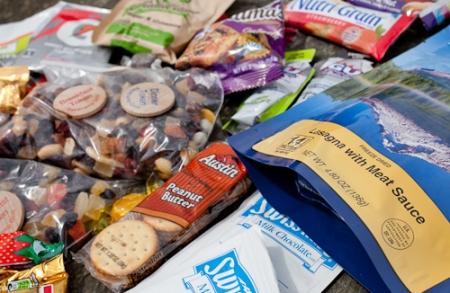
Most people are used to going out for a day of skiing or hiking, snacking on whatever’s handy, and coming home to a big, calorie-replenishing dinner. But the average summit bid on Mount Rainier requires that climbers be on their feet and moving for somewhere between 14 - 18 hours, meaning you’ve got to keep your body fueled.
But there’s a catch; most people lose their appetite at altitude. Good climbers learn to choke down a couple hundred calories per hour regardless of how they’re feeling, because they know that the ability to fuel up is often one of the deciding factors between those who summit and the ones who don’t.
In order to keep your appetite, try to have a variety of foods that stimulate the whole palate, form sweet to sour to salty. Don’t worry too much about the nutritional aspect of your meals; concern yourself more with high calorie intake.
If you're climbing with RMI Expeditions, feel reserve a Mountaineering Meal Package so you don't have to worry about what to eat on your climb!
Water Bottles
2 to 3 liters of capacity is recommended. Screw top, hard-sided water bottles are preferable, to resist freezing and leakage. Hydration systems can be useful to Camp Muir, however they have a greater tendency to freeze and leak on the upper mountain. While the durability of hydration systems has increased significantly in recent years, we continue to see issues with them when used higher on the mountain as the temperatures are quite cold and the hydration systems rest directly beneath the backpad of the pack, and climbers sit on their packs at rest breaks. As a result, the hydration system tubes (even insulated ones) tend to freeze during the climb or the bladders begin leaking. If you would like to use a hydration system, please still plan on bringing two water bottles as a backup.
Still have questions?
Feel free to shoot us a message at info@whittakermountaineering.com, give us a call, or visit our store!

