Your boots are the foundation of every climb. They protect your feet, stabilize your body, and anchor you to the terrain beneath you. Whether you’re trekking to basecamp, traversing glaciers, or front-pointing toward a summit, choosing the right footwear matters as much as choosing the right route.
This guide distills decades of RMI and Whittaker Mountaineering expertise into a practical reference for choosing and using mountain footwear — updated with modern technologies, materials, and real-world insights from the mountains where they’re proven.
| Objective / Conditions | Recommended Footwear |
|---|---|
| Long, dry trail with load | Trekking boot |
| Technical rock approach | Approach shoe |
| Standard glacier route (Rainier, Baker) | Single mountaineering boot |
| Steep ice / winter mixed | Technical alpine boot |
| Cold, multi-day glacier | Double mountaineering boot |
| High-altitude / extreme cold | Triple or expedition boot |
Approach, Trekking, and Hiking Footwear
These are your pre-climb workhorses — built for long approaches, trail comfort, and mixed terrain. They’re not meant for snow and ice travel, but they get you to where the mountain begins.
Before snow travel begins, there’s often a long trail or rocky moraine between you and the glacier. Approach and trekking footwear covers that ground efficiently—but they’re not the same thing.
Approach Shoes
Approach shoes blend climbing precision with hiking stability. They use sticky rubber and firm midsoles for accuracy on rock slabs and boulder fields. They shine on climbs where the hardest work is getting to the snowline—think Forbidden Peak or Shuksan Fisher Chimneys.
Key Traits
- Sticky rubber soles for slabby or blocky terrain.
- Moderate stiffness in the midsole for scrambling precision.
- Durable toe rands and sidewalls to resist abrasion.
- Low-cut collars for freedom of movement and packability.
Use When:
- The approach is steep, rocky, and mostly dry.
- You expect scrambling and edging on rock.
- Loads are light to moderate.
Avoid When:
- Terrain is snowy, icy, or continuously wet.
- You’ll need crampons—approach shoes are never designed for them.
Field Insight: Approach Shoes vs. Trail Runners
Approach shoes and trail runners overlap in function but not in purpose.
Approach shoes favor precision—stiffer midsoles, sticky rubber, and abrasion-resistant rands for rocky, technical terrain.
Trail runners favor efficiency—softer midsoles, breathable uppers, and cushioned impact for long, dry approaches.
Use Approach Shoes when scrambling or navigating talus.
Use Trail Runners when covering miles of trail with a light pack.
Neither belongs on snow or with crampons—choose the right tool for the terrain, not the distance.
Trekking and Hiking Boots
For long, mixed approaches or heavy expedition loads, trekking boots trade precision for support. They protect the ankles, cushion impacts, and keep feet dry through days of varied terrain.
Look for
- Mid-stiff soles that flex slightly on long trail days but stabilize under pack weight.
- Supportive ankle collars for uneven terrain.
- Water-resistant membranes (HDry®, GORE-TEX® ePE, or similar PFAS-free laminates).
- Durable leather or synthetic uppers that can handle repeated exposure to moisture and grit.
Trekking boots are your travel layer: the footwear that gets you to camp, not up the mountain.
General Mountaineering Boots
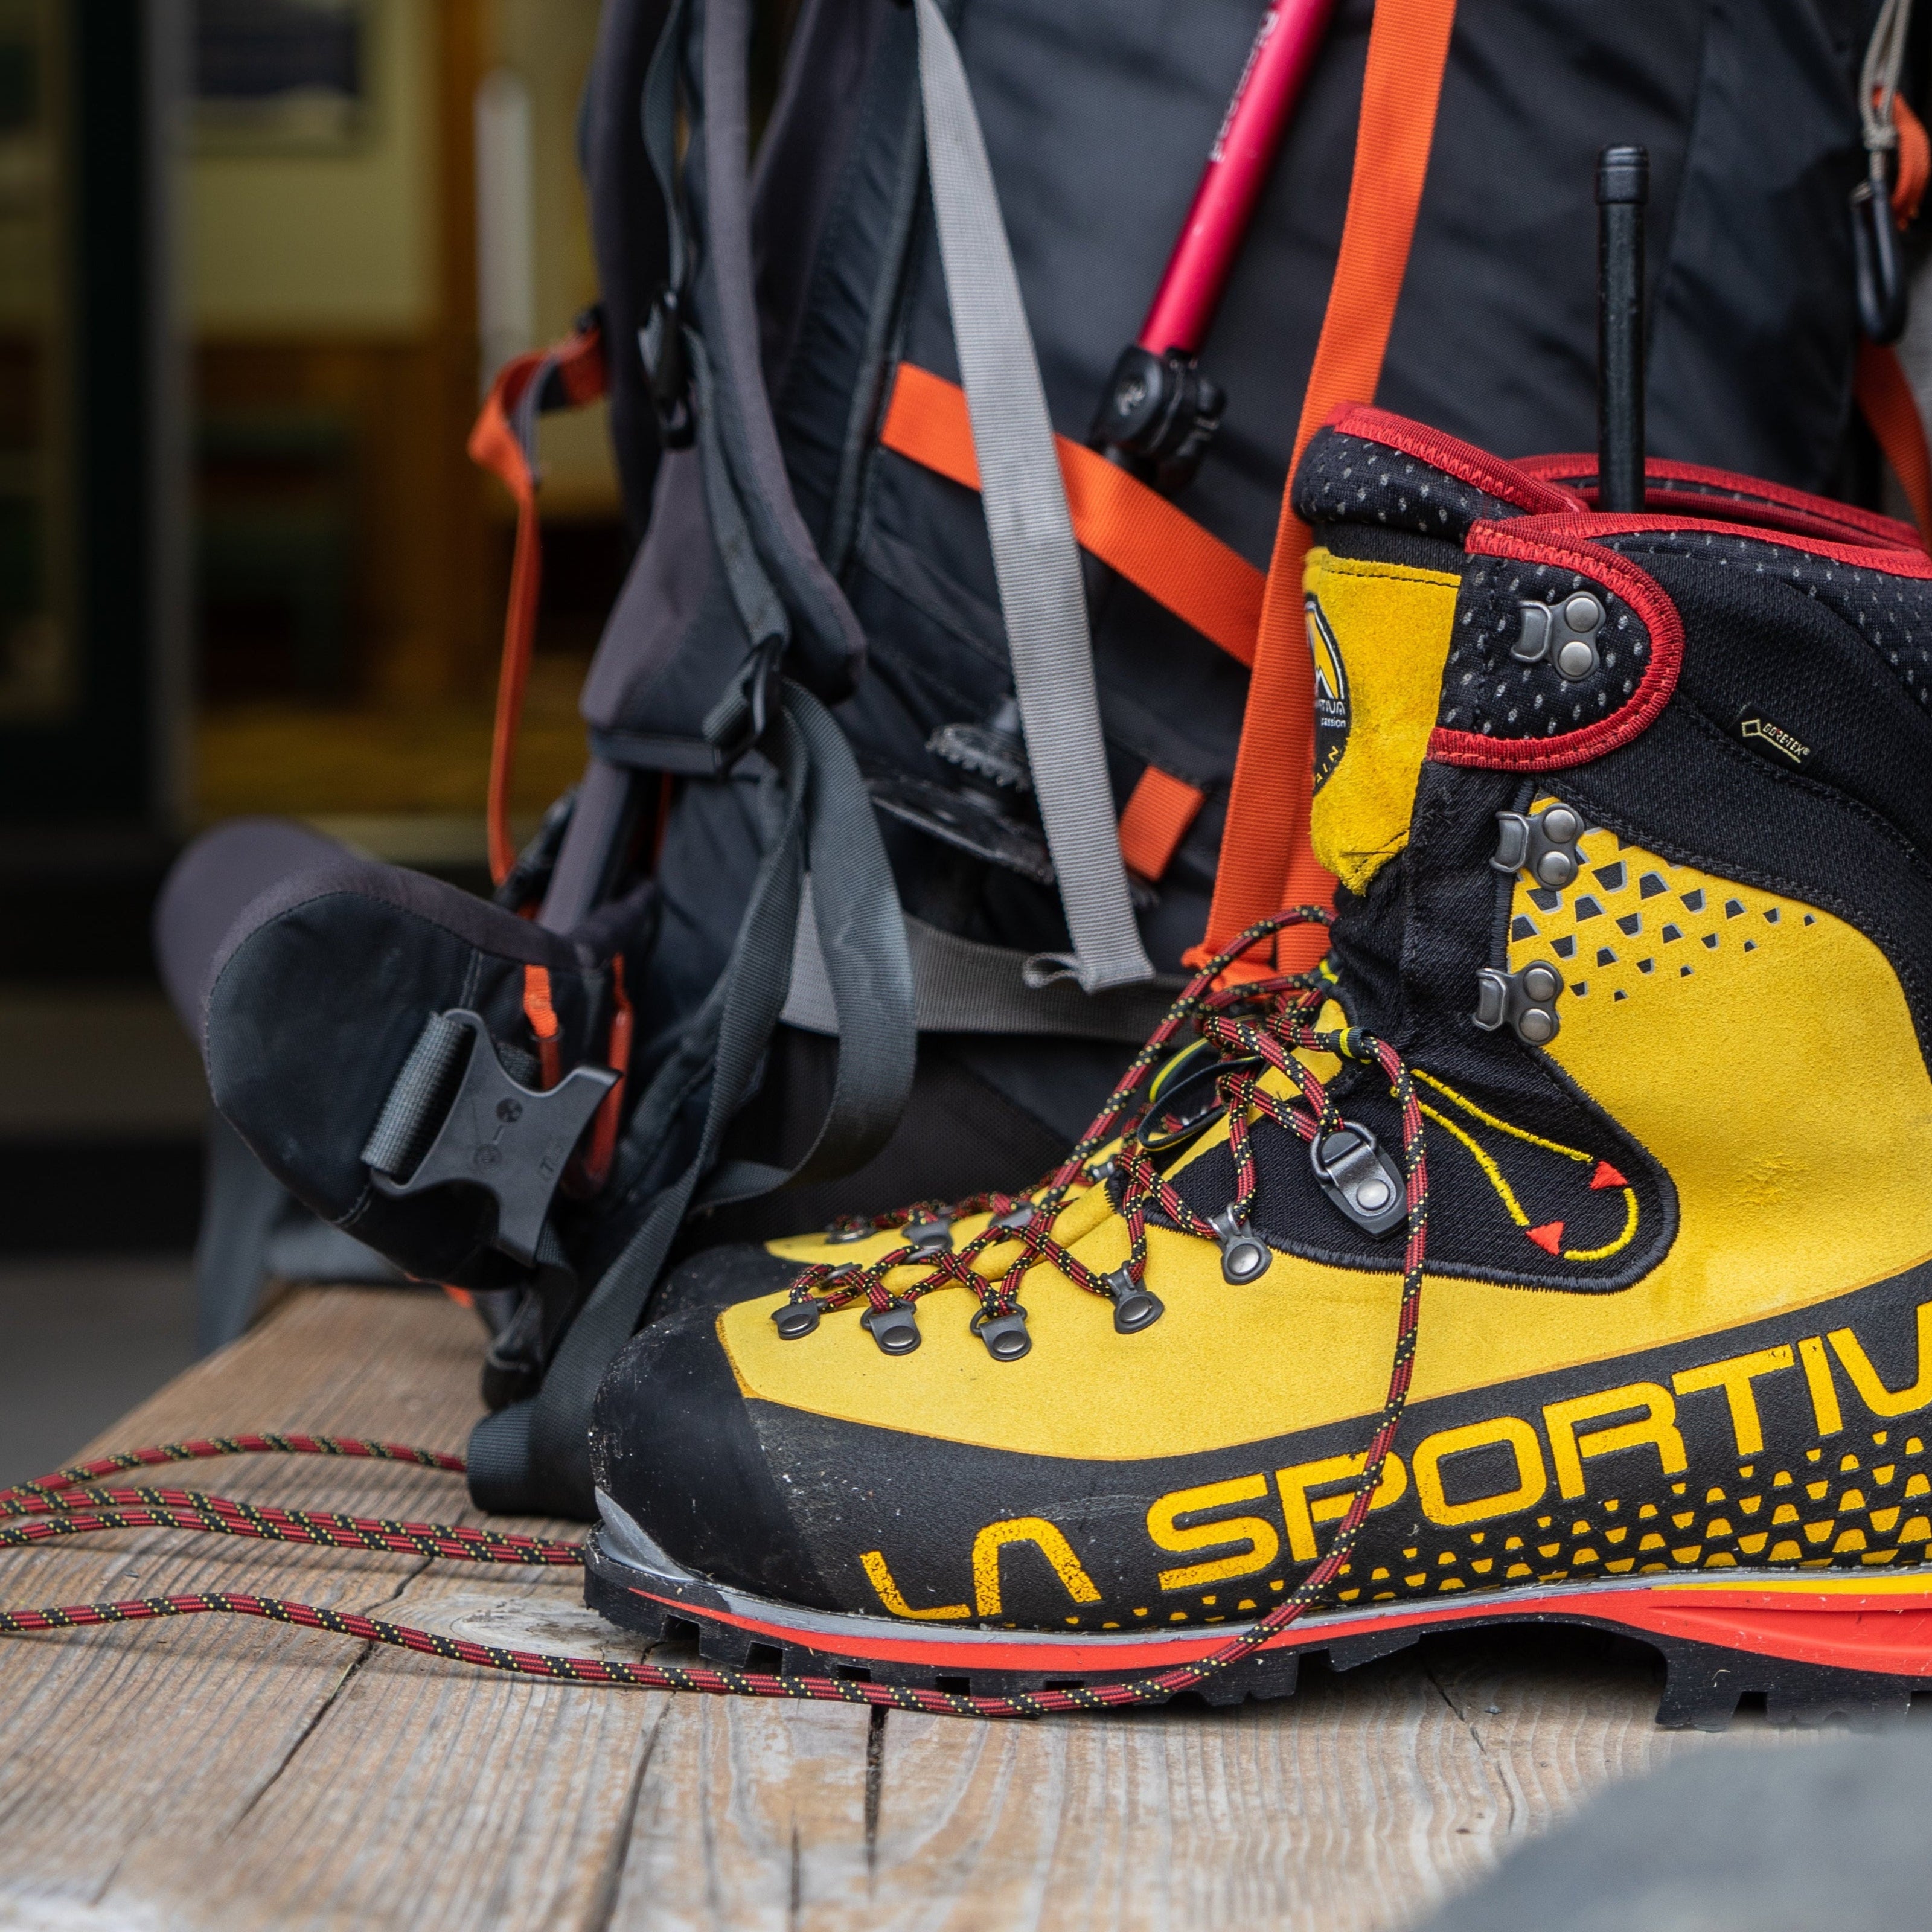
General mountaineering boots are the workhorses of alpine climbing. They combine warmth, stability, and crampon compatibility in a single, durable platform.
Where They Fit
This is the standard choice for climbs like Mount Rainier, Mount Baker, and Glacier Peak. Conditions on these peaks shift from trail mud to firm neve to ice within hours. Single boots balance warmth, stiffness, and weight to handle that entire range.
Design Priorities
- Insulated uppers: Synthetic microfibers or Perwanger leather lined for warmth.
- Full-shank construction: Carbon or nylon midsoles for precise crampon support.
- Waterproofing: Seam-sealed bootie or direct-laminate membranes that eliminate internal moisture buildup.
- Crampon compatibility: Typically hybrid (semi-automatic) or fully automatic.
- Outsoles: High-traction rubber such as Vibram’s Litebase compounds for lighter weight without losing grip.
Modern single boots emphasize weight reduction and moisture management—offering the same security with less fatigue on long summit pushes.
Technology Spotlight: PFAS-Free Waterproofing
Older membranes relied on PFAS chemicals for durable water repellency. As of 2025, new systems like ePE GORE-TEX® achieve the same waterproof-breathable performance without persistent chemicals. Expect similar protection but slightly more need for DWR maintenance—regular washing and low-heat drying restore repellency.
Field Note
These boots thrive in freezing to mid 20 °F temperatures. Below that, add vapor barrier socks or move to doubles.
Technical Alpine Boots
Technical alpine boots evolved for steep ice and mixed routes where precision, warmth, and low weight must coexist. They sit between general mountaineering singles and expedition doubles.
Context
If your climbs involve sustained front-pointing, mixed rock-ice transitions, or winter routes in the Cascades or Canadian Rockies, this is your category.
Defining Features
- Integrated stretch gaiter sealing out snow and spindrift.
- Boa® or dual-zone lacing for glove-friendly micro-adjustment.
- Carbon/composite midsoles delivering stiffness with less weight.
- Fully automatic crampon compatibility.
- Welded waterproof shells for minimal water ingress.
Technology Spotlight: Carbon Midsole Structures
Traditional boots used steel shanks for stiffness; modern designs use carbon-fiber plates or honeycomb composites. They maintain rigidity for front-pointing yet flex slightly at the toe for walking. The payoff: less calf fatigue and lighter pack weight. The trade-off: carbon plates are costlier and harder to resole.
When to Choose
- Cold, steep alpine objectives where every gram and degree of warmth matters.
- Single-day or lightweight multi-day climbs in full winter conditions.
- Climbers who value precision on technical terrain more than all-day trekking comfort.
High-Altitude Mountaineering Boots
When temperatures drop well below freezing and moisture management becomes critical, climbers turn to high-altitude boots—double and triple systems designed for extreme cold.
Double Boots
Double boots pair a rigid outer shell with a removable insulated liner, balancing warmth and practicality for multi-day expeditions.
Advantages
- Liners dry overnight inside your sleeping bag.
- Stiff platforms support full-automatic crampons.
- Synthetic insulation stays warm even when damp.
Typical Use
- Denali, Aconcagua (early or late season), and extended Andean climbs.
Triple (Expedition) Boots
Triple boots add a built-in super gaiter and layers of advanced insulation for extreme altitude or polar cold.
Recent designs—such as heated-liner systems and carbon-aerogel midsoles—extend comfort to −60 °F while cutting overall weight.
Construction Highlights
- Outer gaiter bonded directly to shell for full waterproofing.
- Inner liner with multi-density foam or synthetic down.
- Aerogel or carbon insoles reducing conductive heat loss.
- Large zipper flaps operable with gloves.
Use When
- Expedition temps or altitude exceed the limits of doubles.
- Drying liners overnight isn’t feasible.
- You’re operating above ~20,000 ft or in persistent sub-zero weather.
Technology Spotlight: Heated Liners—Worth the Weight?
Battery-heated liners, like those in Scarpa’s 8000 Thermic HD, can extend functional warmth during static belays or summit pushes in −50 °F conditions. They help on objectives with limited movement (e.g., high-camp bivies) but add nearly ½ lb per boot and introduce battery management. They are best reserved for truly extreme environments or climbers with circulation issues—not as standard expedition gear.
| Boot Type | Warmth | Weight | Drying Ability | Precision | Typical Use |
|---|---|---|---|---|---|
| Single | Moderate | Light | Hard to dry | Excellent | Summer glacier, general alpine |
| Double | High | Moderate–Heavy | Easy (removable liner) | High | Multi-day glacier, shoulder-season climbs |
| Triple / Expedition | Very High | Heavy | Excellent | Moderate | Denali, Aconcagua (cold), 7–8 K expeditions |
Mountaineering Boot Fit and Field Technique
Even the best boot fails if it fits poorly. Proper fit transfers power, prevents blisters, and keeps blood flowing in cold environments.
Fit Fundamentals
Always size up: Size up one-half to one full size for general mountaineering, single
boots, and one full size for a high altitude or double plastic boot. More room increases
circulation and accommodates foot swell at altitude, resulting in warmer feet. A larger boot will also allow room for an orthotic or custom foot bed, which is recommended.
Prevent toe bang: Make sure your toes do not touch the front of the boot. Half of
mountain climbing is walking downhill. Toe bang on the descent is painful. Test for this by
lacing your boot up tightly and tapping your toe behind you. If your toes feel crunched
against the end of the boot, size up.
Comparative Fit: Mountaineering boots do not fit like ski boots or rock climbing shoes.
These are not intended for walking in. Mountaineering boots are, so you can expect a looser, roomier fit. Tight mountaineering boots are a recipe for discomfort, decreased circulation, and potential frostbite.
First Impressions: First impressions are huge. Have your sock system on (almost all of our guides wear a single sock, even to the top of Everest), lace up the boots, and walk, stand, sit, tap your toes and scuffle around for 15 minutes. How do they feel?
Brands and Models: Be aware that boot brands and models are shaped differently. If the boot fit is too tight overall, you’re likely in the wrong size. If the boot is pinching in some areas but is loose in others, you’re in the wrong brand or model.
Modern Fit Tools
- Thermo-moldable liners (common in doubles) conform to your exact foot shape.
- Boa® and dual-zone lacing allow quick, glove-friendly micro-adjustments. Keep in mind that Boa systems are signifcantly more difficult to fix in the field than traditional laces.
- Custom insoles add arch support and reduce fatigue under heavy packs.
In the Field
- Lace for security, not strangulation—tight midfoot, looser toe box.
- Kick-step and side-hill during test walks to confirm no heel lift.
- Check crampon fit before leaving the trailhead; minor bail adjustments can save summit-day delays.
Ed Viesturs: “The fit should be roomy in the toe box -– this lets your toes stay warmer. Make sure there's enough length so that your toes don't jam forward on long descents, but not so much that your heels slide up and down, causing blisters. Also make sure to size the boots to allow room for the thicker socks that you'll wear.”
Footwear Accessories
Small components make big differences in warmth and comfort. These complete the footwear system.
Socks
Modern merino-synthetic blends manage sweat and resist odor better than pure wool.
Layer System
- Liner sock: Reduces friction, wicks moisture.
- Midweight outer: Adds insulation and padding.
- Expedition weight: For sub-zero conditions; ensure volume space.
Technology Spotlight: Sock Fabrics
Companies are now spinning nylon-core merino yarns—stronger and faster-drying than traditional wool. The result: longer lifespan and less compression set after multiple days in boots.
Liners & Insoles
- Removable liners in doubles = nightly drying advantage.
- Supportive or insulated insoles prevent arch fatigue and cold transfer.
- Replace when compression or odor buildup appears; insoles degrade faster than shells.
Gaiters & Overboots
- Traditional gaiters: Essential for deep snow or slush.
- Integrated gaiters: Common on modern technical boots; lighter and more secure.
- Overboots: Expedition-level warmth and waterproofing for extreme cold.
Peter Whittaker: “A hard shell is my emergency layer—the jacket I hope I never use. The same logic applies to boots. The right insulation should be ready before you need it.”
Technology Spotlight: Overboots
Overboots act as an external insulation layer for extreme cold—slipping over your primary boot to trap warmth and block wind. They’re invaluable on summit pushes below −30 °F, during long static periods, or as emergency insurance on high-altitude expeditions.
When to Bring Them:
- Denali, Aconcagua (cold seasons), or polar climbs.
- Summit days where exposure time is long and drying time is short.
When to Skip Them:
- Warm-season climbs with doubles or modern triples (integrated gaiters).
Always check crampon fit with overboots installed; even a few millimeters of extra bulk can throw off bail alignment.
Closing Thoughts
Your boots are your foundation—everything above them depends on how well they fit, how they insulate, and how they interface with the mountain beneath you. Choose based on temperature, duration, and terrain, not trend or brand.
A good system keeps you efficient and confident in every step—from trailhead to summit ridge.







Leave a comment
All comments are moderated before being published.
This site is protected by hCaptcha and the hCaptcha Privacy Policy and Terms of Service apply.