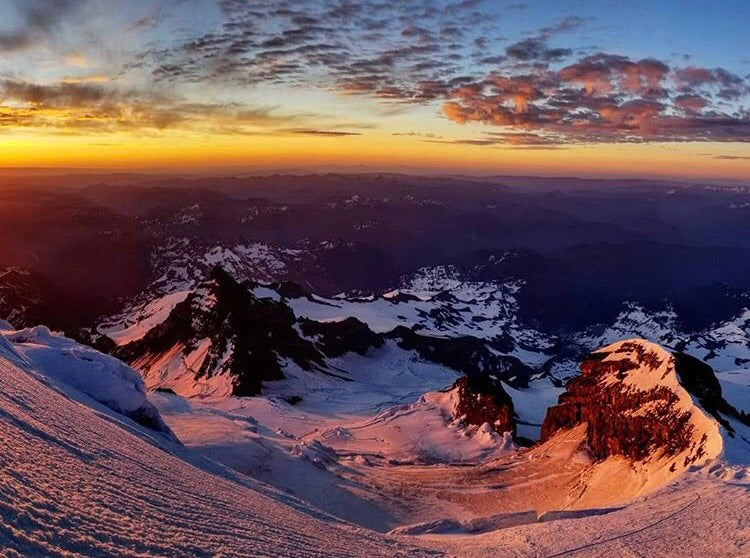
If you’ve ever done an alpine start (waking up at an ungodly hour so you can be on the summit at sunrise), there’s a good chance you’ve taken a picture of the sunrise from altitude. Now, the odds that your picture turned out well are significantly lower. But don’t worry, we’re here to help you avoid that!
Getting Started: Gear
For this article, we’ll be focusing on taking pictures using an iPhone or Android. When you’re slogging uphill for days at a time, entering a slightly less-oxygenated atmosphere with every step, every ounce counts. So if you plan on bringing a heavy DSLR camera, or even a GoPro, I highly recommend knowing how to use it! However, for all the technical gear you’ll need while mountaineering, there’s a pretty solid chance you won’t be leaving your phone behind.
Don’t Step on the Rope!

The first thing you need to know about taking pictures while mountaineering? It’s usually NOT the right time to do it. Whether you’re on a guided climb or peak bagging with friends, when you’re on the mountain, you’re part of a team. And if you interrupt that team’s rest-step to take a badass selfie, there’s a good chance you won’t be invited along on the next expedition. Use rest breaks to take photos, and keep your phone in an easily accessible pocket (like your chest) so you don’t have to fumble around in your pack for it. If you really can’t miss taking a picture while climbing, and you’re confident in your ability to keep the pace, use rapid fire or burst photos to get quick shots while moving.
Getting the Shot

So you’re at your rest break, you’ve got a few minutes, and the sun is starting to light up the world below. It’s breathtaking, and you just NEED to share it with your followers. Phone cameras have come a long way in the last few years, but there are still a few things you can do to get the best shot.
- Minimize your camera shake. Because there is little light compared to midday, your camera has to leave its shutter open longer, which makes it super susceptible to movement. Balance your phone on your knee with both hands gripping it, or lay back into the mountain, tuck your elbows, and use your chest as a tripod if you can.
- Use the Rule of Thirds. Imagine your screen is split into 9 equal pieces, with 3 horizontal and 3 vertical lines (most newer phones should have this grid automatically). Line the Horizon up with the top horizontal line for shots of the mountain below, and with the bottom horizontal line for more sky-focused shots.
- Embrace silhouettes. You’ll find it hard to get a shot that both lights up your foreground (like your buddies or your stickered-out Nalgene) without washing out that awesome background. We recommend focusing on the background, since it’s the real hero here, and allowing the objects in the foreground to be dark, almost black silhouettes.
- Take more pictures than you think! Even if it’s just 5 of the same shot, each one will be slightly different. Experiment with focusing on different areas of the shot, using portrait or landscape, adjusting your zoom and lighting. You can always delete pictures, but you can never re-shoot that exact moment.
Hopefully this helps you take some killer sunrise shots on your next expedition, and makes you hate alpine starts just a little less! Let us know your photography tips in the comments below!
Till next time,
Happy Climbing!


