


Every mountaineer’s confidence begins with contact: what’s in your hand and what’s under your feet. Ice axes and crampons aren’t just safety devices; they’re extensions of how you move through the mountains. When matched to your objectives and tuned to your technique, they give you balance, precision, and trust in steep terrain. When they’re mismatched, they can make even gentle slopes feel insecure.
Together, these tools create a system: the axe keeps you anchored above, the crampons hold you fast below. Understanding why each exists (and how design decisions change your experience) is the key to building a reliable mountain kit.
Logic Behind Ice Axes
What an Ice Axe Does
An ice axe is part walking staff, part emergency brake, part anchor. It helps you stay upright, catch a fall, and move with balance across steep ground. That versatility drives every design tradeoff.
Longer, straight shafts favor stability and ease on snowfields. Shorter, curved tools favor control and precision when swinging into ice. The best axe for you depends on how you’ll use it most often.
Anatomy and Design
Head: The business end. Steel offers security on ice and rock; aluminum saves weight but sacrifices bite.
Pick: A gently curved pick penetrates ice cleanly and resists bouncing; flatter designs are easier to self-arrest with.
Adze vs. Hammer:
- Adze — best for step-cutting and chopping platforms in firm snow.
- Hammer — ideal when you expect to place protection (pitons, pickets) or climb mixed routes.
Why it matters: An adze makes sense for most general climbs; a hammer belongs in your pack if you’ll swing into hard ice or rock regularly.
Shaft: Straight for plunging and walking; curved for clearance on steeper ground. Materials now range from classic aluminum to carbon-fiber composites.
Spike: Your third point of contact. A durable spike is critical for self-belay and downhill stability.
Technology Spotlight: How Design Changed Control
Today’s axes are lighter, stiffer, and more forgiving. Carbon-fiber shafts mute vibration on hard ice, while hydroformed aluminum keeps weight down without sacrificing strength. Dual-density grips improve control with gloves, and modular heads let climbers swap an adze for a hammer in seconds.
The gains aren’t about fashion. Each gram you save and each vibration you don’t feel keeps your movements smoother, your energy higher, and your margin for safety wider.
Choosing the Right Length
Your ice axe should balance stability with swing efficiency. Too short, and self-arrest becomes awkward. Too long, and it’s clumsy on steep ground.
| Climber Height | Axe Length | Best For |
|---|---|---|
| Under 5’8” | 50–60 cm | Steeper alpine routes |
| 5’8” – 6’2” | 60–70 cm | General mountaineering |
| Over 6’2” | 70–75 cm | Moderate snow slopes |
Guide Tip: When in doubt, go shorter — you can always choke up on the shaft for walking, but a tool that’s too long feels awkward when arresting a fall.

Types of Ice Axes
"Picking an ice axe is all about what you are climbing. If there's a good chance I'll be swinging the axe overhead, I'll go with something shorter and more technical. For most standard mountaineering routes, I'll choose a longer, straight shafted axe, since it will mostly be used as a third point of balance." - Melissa Arnot
General Mountaineering Axes

These are the foundational tools of alpine climbing - straight or slightly curved shafts, steel heads, and adze preferred. They’re designed for self-arrest and self-belay, not swinging. On routes like Rainier’s Disappointment Cleaver or Aconcagua, this is the axe you’ll use mainly for balance, and hopefully not often for rescue.
Design: Straight or slightly curved shaft, steel head with adze, 55–75 cm length.
Why: Reliable self-arrest and easy plunging in snow.
Crossover: Limited use on vertical ice but perfect for glacier travel.
"For general mountaineering, I look for an ice axe with a lightweight aluminum handle and a strong, durable steel head." - Peter Whittaker
Field Tip: Using a Short Axe with a Trekking Pole on Rainier
On routes like Rainier’s Disappointment Cleaver, many climbers pair a shorter ice axe with a trekking pole instead of carrying a long axe alone. The pole handles balance and efficiency on moderate slopes; the axe steps in for self-arrest or steep sections.
This setup cuts weight and keeps movements natural during long glacier traverses, but it demands awareness. Switch tools before the terrain steepens, and remember: the axe is your safety net, the pole is just support.
Alpine Axes

Somewhere between a walking tool and a climbing one, alpine axes bridge the middle ground. Their slight curve gives clearance on steeper faces while retaining the comfort of a traditional grip. Many now feature modular heads so you can switch from adze to hammer as routes demand.
Design: Slightly shorter (45–60 cm) with a gentle curve and an interchangeable adze or hammer.
Why: The curve clears bulges and offers better swing angles; modular heads adapt to mixed routes.
Technology Spotlight: Modularity Meets Minimalism
Interchangeable picks and lightweight hammers have changed how alpine climbers pack. Instead of owning three axes for three objectives, one can now adapt to all. The best modern examples strike a balance between strength and adaptability, and are a single, trustworthy companion for mixed routes.
Technical Ice Tools

Built for steep, sustained ice and mixed climbing, technical tools trade balance for precision. Shorter shafts, aggressive curvature, and ergonomic grips let you swing repeatedly without knuckle contact or energy loss. Their power lies in geometry: the angle of the pick, the offset handle, the weight in the head.
Design: Ergonomic handle, replaceable picks, pronounced curve.
Why: It transfers power efficiently and reduces the knuckle impact on steep ice.
Crossover: Not ideal for walking; meant for sustained climbing.
Field Insight: On mixed routes like the Kautz on Rainier, climbers often carry one traditional axe and one technical tool.
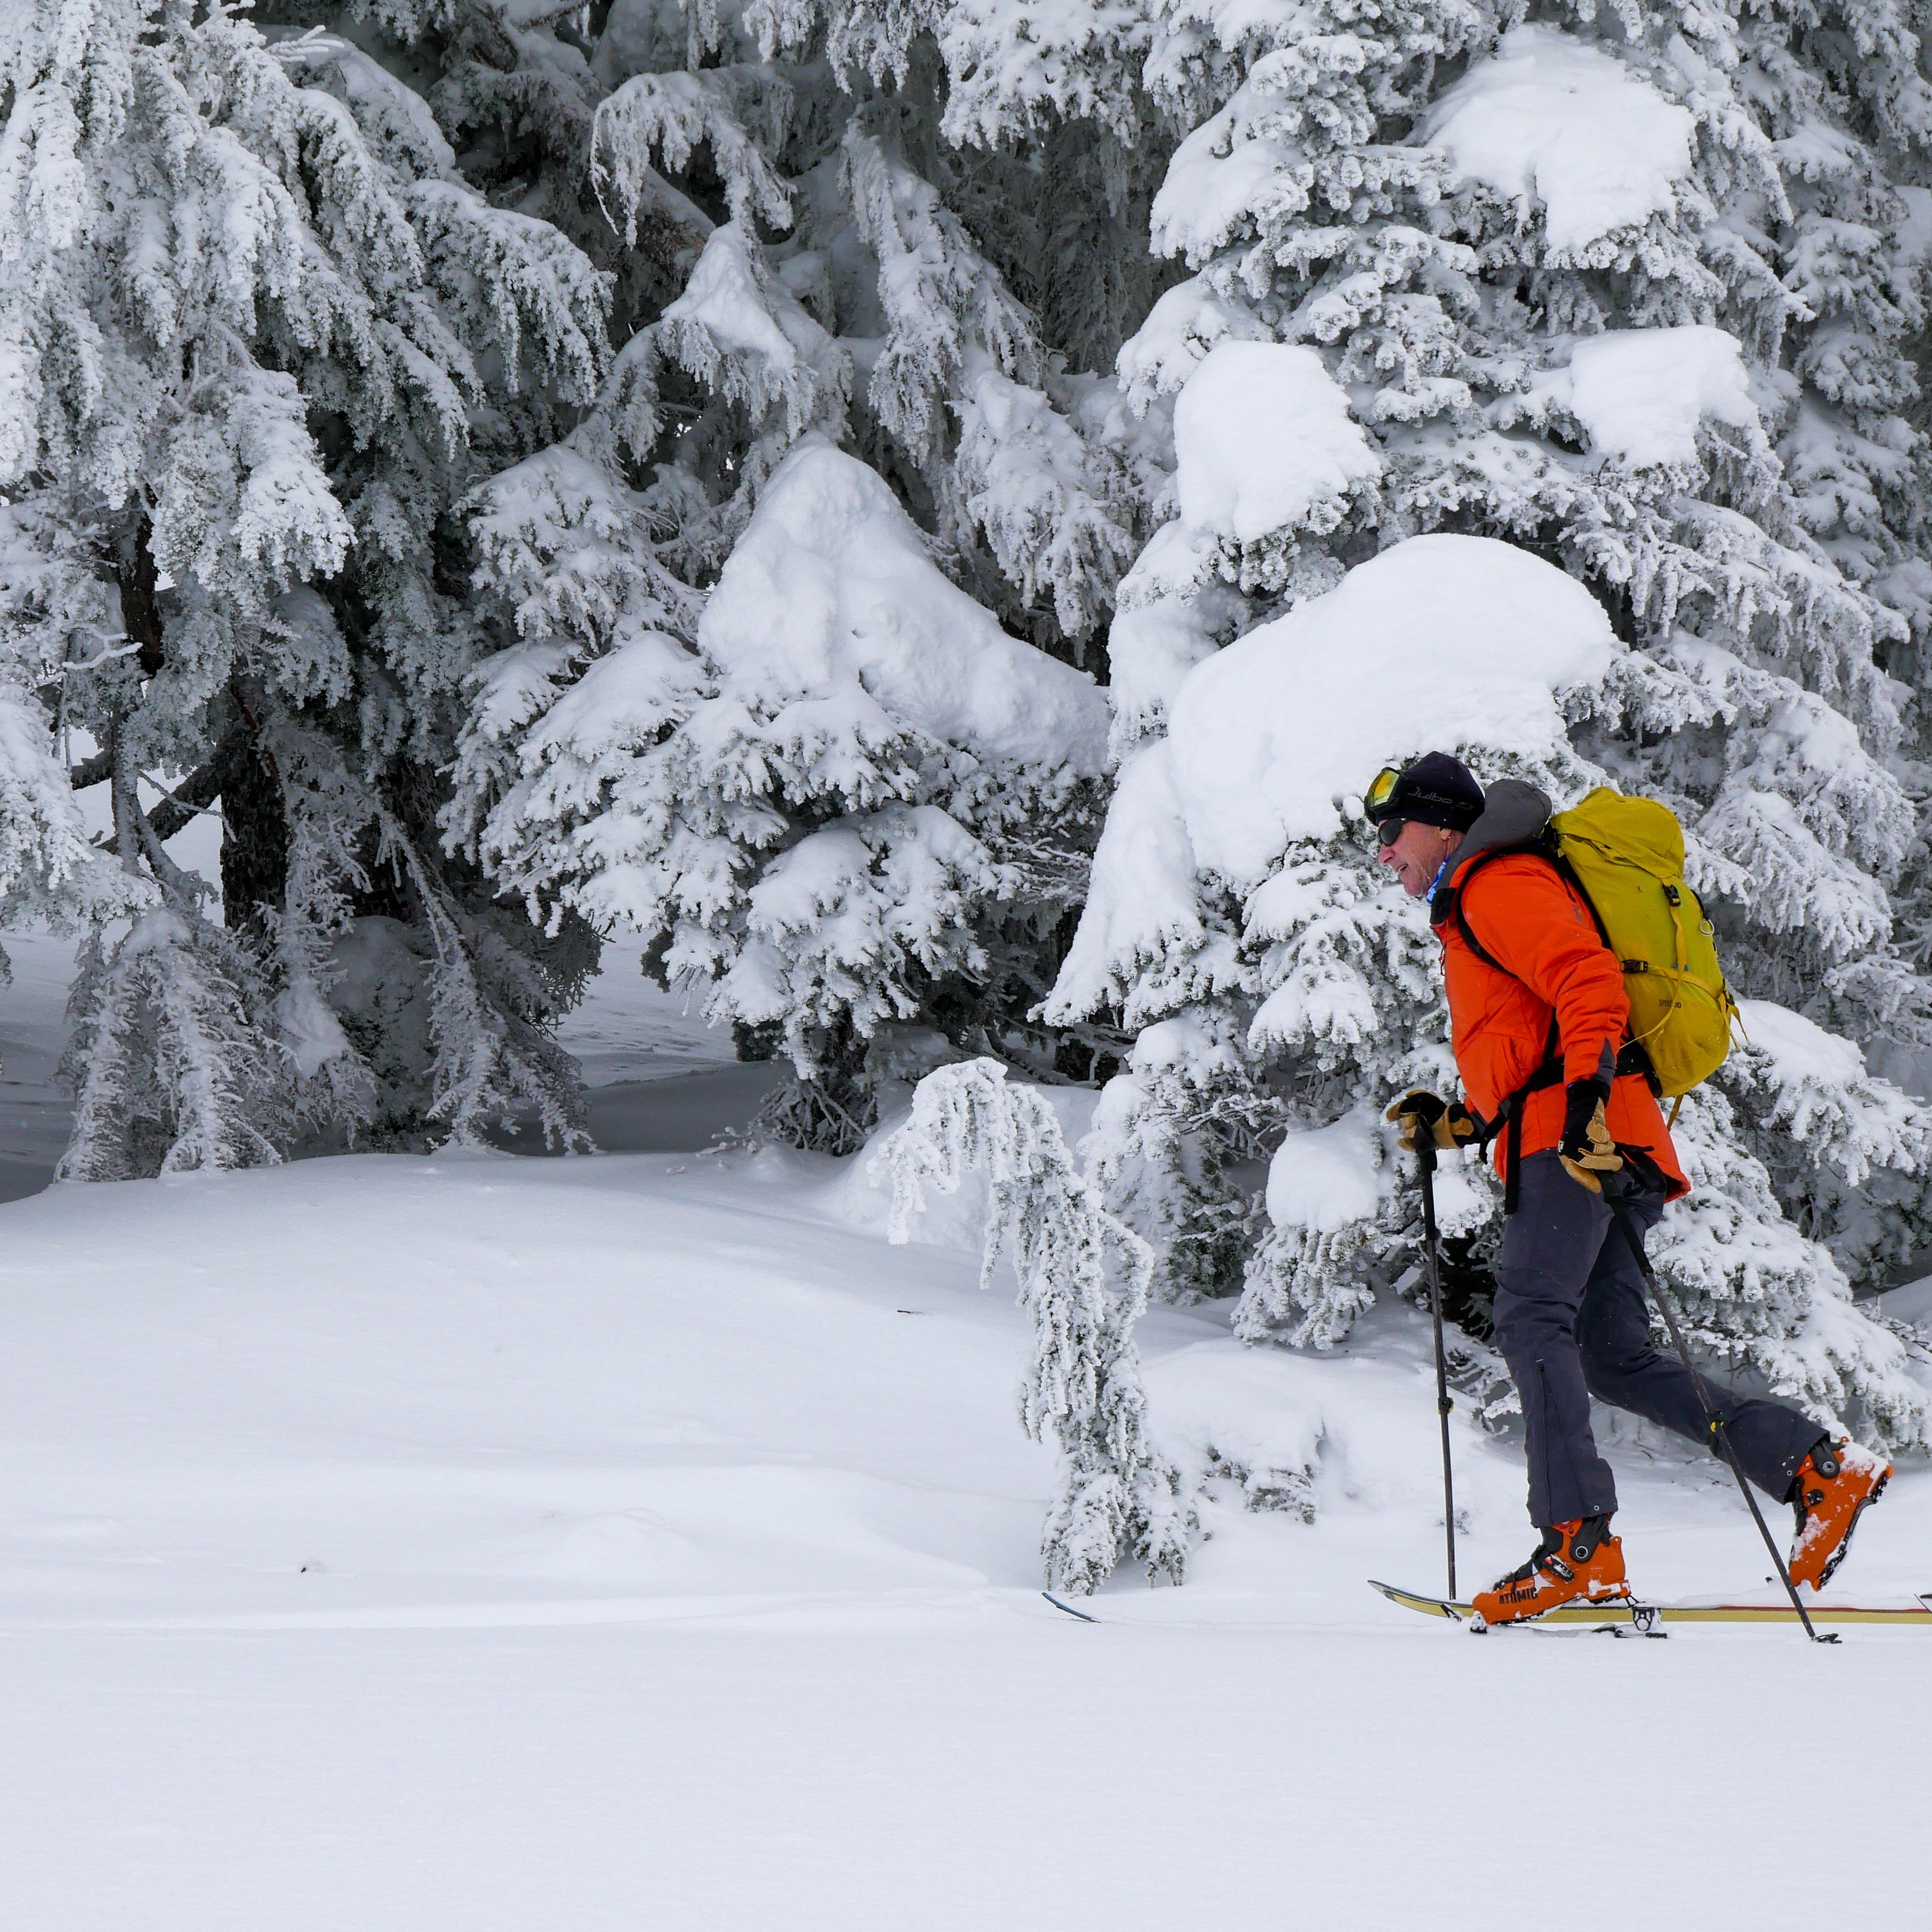
Ski Mountaineering Axes
The ultra-minimal cousin of the family: short (45–55 cm), featherlight, with steel heads and aluminum or carbon shafts. They live more on packs than in hands but perform when needed for quick self-arrest or bootpack security.
They’re not built for climbing vertical ice but for climbing to it. Ski mountaineers choose them because every ounce matters on a skin track, and a compact, reliable axe beats carrying unnecessary steel.
Design: Short (45–55 cm), aluminum or carbon shaft, steel pick, optional tether.
Why: Enough bite for self-arrest without bulk; ideal for spring volcanoes or couloirs.
Crossover: Great with ski packs; not for prolonged ice climbing.
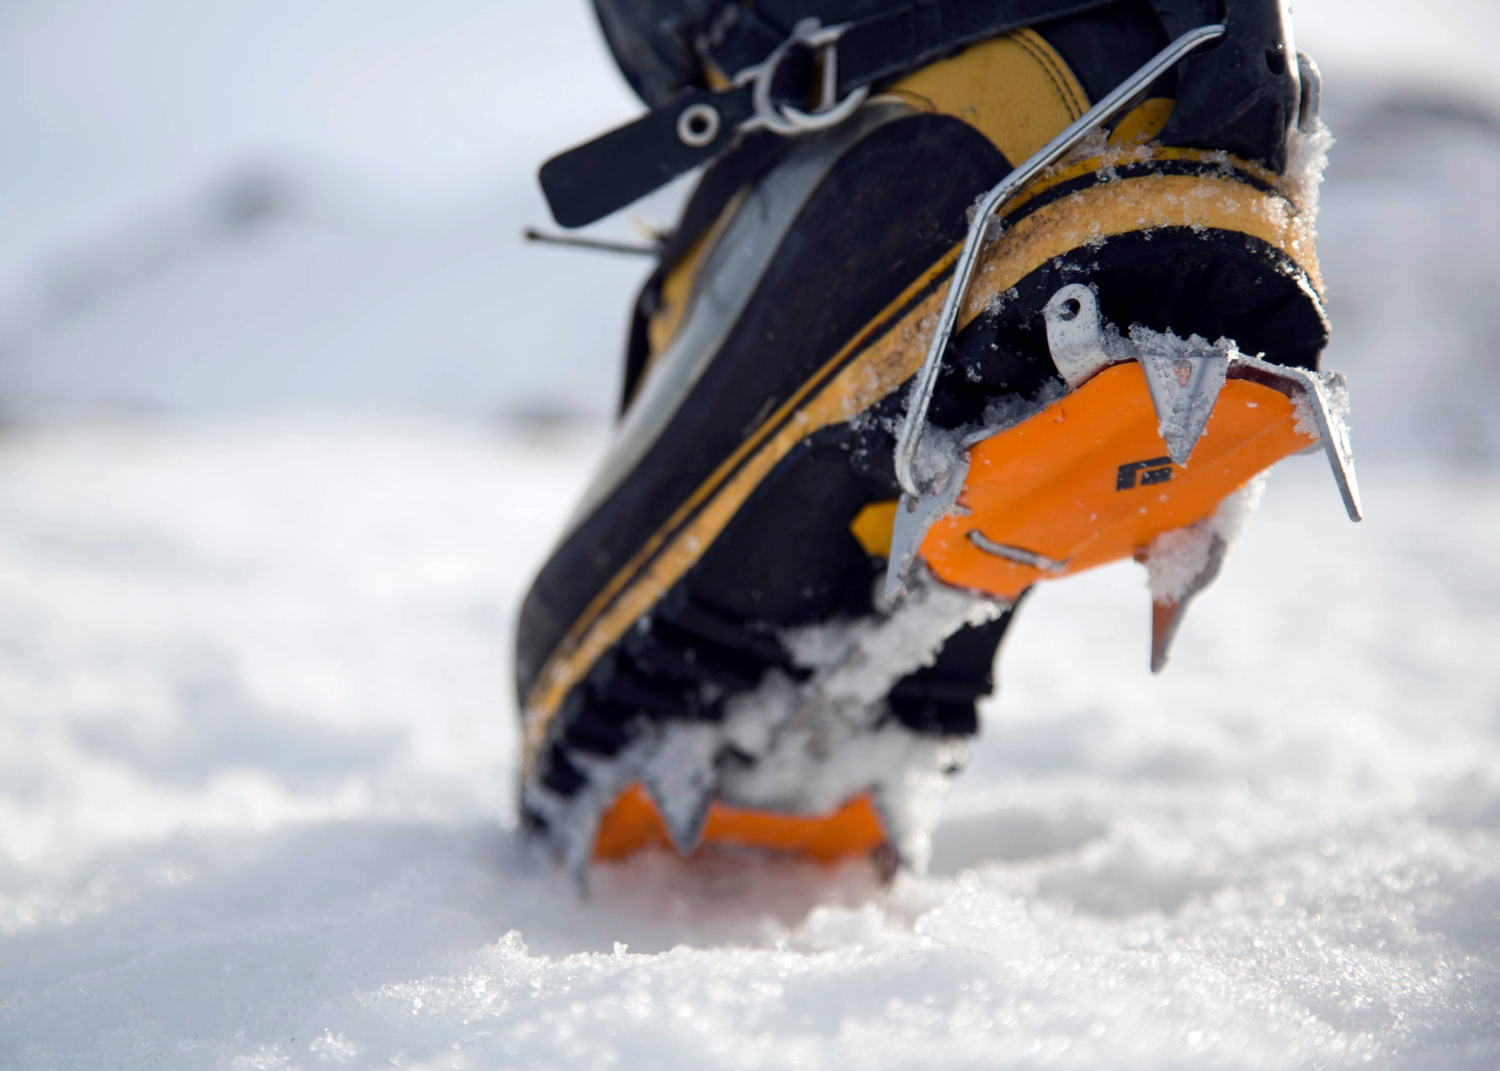
Logic Behind Crampons
Purpose
Crampons are traction, pure and simple. They turn boot pressure into grip, letting you move efficiently on frozen ground. The trick is choosing stiffness, material, and binding that complement your boots and terrain.

Rigid vs. Flexible:
- Rigid frames transfer force directly for front-pointing on ice.
- Flexible bars adapt to uneven terrain and walking comfort.
Material:
- Steel/Stainless: Durable, bite on rock and ice.
- Aluminum: Lighter, good for snow, but prone to wear on rock.
Points:
- 10 points = classic alpine balance.
- 12 points = aggressive front-pointing.
- 14 points = technical ice specialization.
Technology Spotlight: What’s Changed Underfoot
Crampons have evolved from simple steel frames to engineered extensions of your feet. Asymmetric frames now match modern boot contours, 3D-stamped plates add rigidity without weight, and anti-balling systems shed snow even in deep freeze. Stainless steel is replacing painted chromoly: no flaking, no rust, just years of reliable bite.
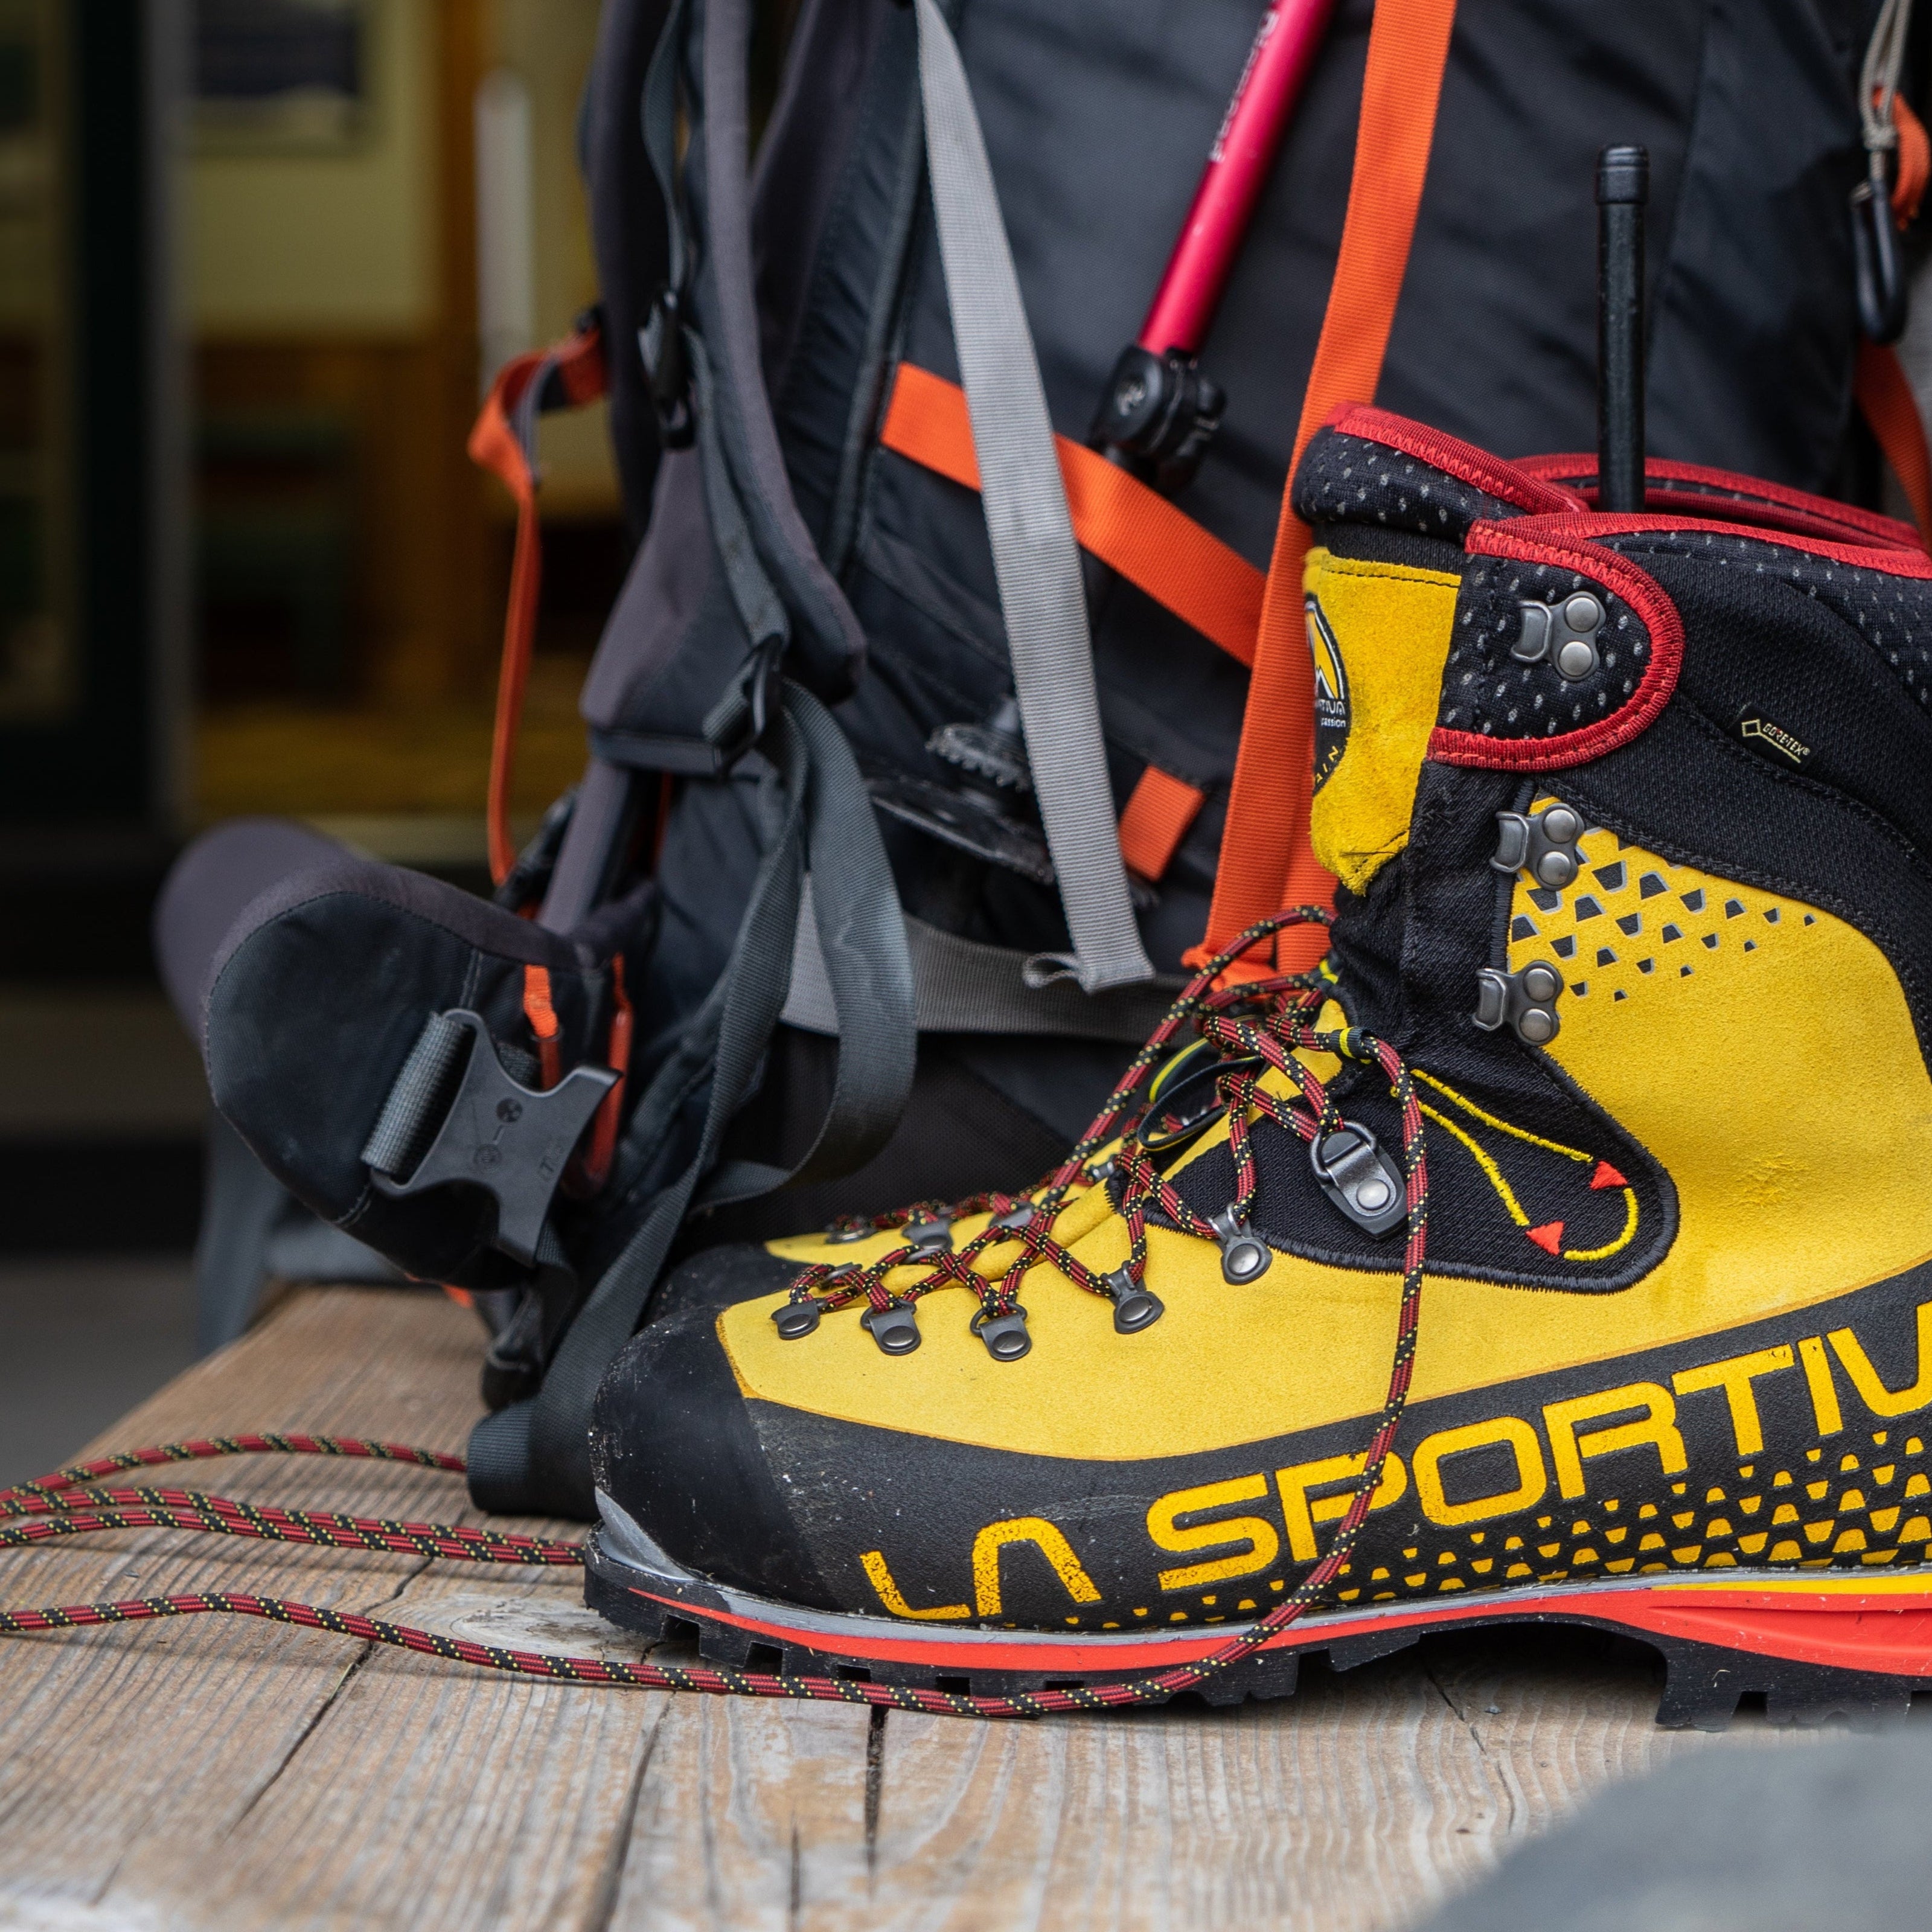
Crampon Binding Systems
| Binding Type | Boot Compatibility | Advantages | Limitations |
|---|---|---|---|
| Strap-On | Any boot | Universal fit | Less precise on steep ice |
| Hybrid (Clip) | Heel welt only | Fast, secure, good mix of comfort & precision | Requires semi-rigid boots |
| Step-In | Heel + toe welts | Max stability for vertical climbing | Requires fully rigid boots |
Guide Tip: Always test-fit at home. Even small variances in boot welts or sole curvature can loosen a crampon under stress.

Types of Crampons

Microspikes
The simplest form, light, mostly aluminum, with strap-on bindings that fit almost any boot. Ideal for snowfields and low-angle glaciers, they prioritize mobility and ease over aggression. You’ll see them on early-season volcano climbs or trekking peaks where weight matters more than technical precision.
Use: Snowfields, low-angle glaciers.
Design: 8–10 points, aluminum frame, rubber stretch-over binding.
Why: Minimal weight; quick on-off transitions.
Limitations: Poor durability on rock; limited bite on hard ice.
General Mountaineering

This is the all-purpose tool for routes like Rainier’s Emmons Glacier or Aconcagua’s Polish Traverse. Ten or twelve steel points offer security on everything from wind crust to hard ice. Some flex slightly for comfort on long approaches; others stay semi-rigid for better front-point control.
Use: Classic alpine routes — Rainier DC, Emmons Glacier, Kilimanjaro.
Design: 10–12 points, steel or stainless, flexible or semi-rigid frame.
Why: Balance between traction, comfort, and adaptability.
"For general mountaineering I look for a crampon that goes on a variety of boots without any fit issues, and more importantly, stays on during grueling, 14-hour summit pushes." - Dave Hahn
Field Insight: Match your crampon’s stiffness to your boots. A flexible crampon on a rigid boot wastes energy; a rigid crampon on a soft boot fights your stride. The best setup feels invisible—solid when you kick, smooth when you walk.
Technical Crampons

When the slope stands up, the crampon becomes a climbing tool. Technical designs use longer, sharper front points, rigid frames, and precision step-in bindings that lock to fully rigid boots. They let you front-point up near-vertical ice without slipping or folding under tension.
Use: Steep ice, mixed terrain, and high-angle alpine routes.
Design: 12–14 points, rigid frame, step-in or hybrid binding.
Why: Stability and precise front-pointing.
Limitations: Heavier, slower on long snow approaches.
Technology Spotlight:
Modular Frontpoints
The biggest shift in recent years is flexibility- not in the frame, but in the design. Modular frontpoints let climbers switch between single, dual, or offset setups depending on route type and conditions. A mono-point slices neatly into narrow ice, while dual points spread force across softer terrain.
The result? One pair of crampons that performs like three, adjusting as easily as swapping a pick.
Ski Mountaineering Crampons
For fast-and-light objectives, ski mountaineering crampons balance weight, compactness, and reliability. Aluminum frames keep them featherlight, while steel or titanium front points add bite where it counts. Strap-on bindings make them compatible with both ski and mountaineering boots.
These aren’t made for days of front-pointing, they’re for quick transitions over firm snow or frozen bootpacks where traction matters for minutes, not hours.
Use: Ski approaches, mixed snowpacks, spring volcano ascents.
Design: Aluminum or hybrid frames with steel frontpoints, compact strap-on bindings.
Why: Light enough for skintrack carry yet secure on firm snow.
Field Practice and Care
Every climb begins in the quiet of early morning, with the sound of buckles clicking and points scraping snow. That’s where safety starts. Not at the summit, but at the base, when you check what you’re trusting your life to.
Before you rope up, confirm fit. After each trip, rinse and dry thoroughly. Sharpen edges only when dull, never until thin. Store them clean and unbuckled. Those small acts (the discipline of preparation) are what keep good tools working and good climbers alive.
Guide Tip: Field repair kits aren’t just for guides. A spare strap, a hex wrench, and ten minutes of daylight can be the difference between finishing your climb and turning back.
One System, One Rhythm
Ice axes and crampons are two halves of the same promise: trust the point of contact. Together, they define how you move through uncertainty, measured, precise, and deliberate. The more you understand them, the less you have to think about them.
Before your next climb, test your whole system: plant your axe, kick your front points, and feel how your boots, straps, and instincts align. That’s the rhythm of mountaineering—tools, technique, and trust working in sync.
Because in the end, mastery isn’t about strength or speed. It’s about the connection between you, your gear, and the mountain that demands your respect.

1 comment
Fazli Ghaffar
Concise and precise guiding points.
Leave a comment
All comments are moderated before being published.
This site is protected by hCaptcha and the hCaptcha Privacy Policy and Terms of Service apply.